


We started this project near the end of June, and by early July we had everything done but painting the trim. Though I like to make a post whenever we do a project, I am learning to wait until the entire project is done instead of posting when everything is “mostly” done. So, the end of August, we got some exterior paint and were able to finish this project. We’ve been working on other projects almost constantly, so it was something we had to get back around to.
Lustron garages are similar to the house, but there are some construction differences. For example, the house is entirely steel construction, whereas the garage is all wood construction. This made it much easier for us to add the door. The panels are the same between the house and the garage. The panels are attached in only three corners, and what keeps it together is the panels being nested. from the front, the panels are bolted on the left corners and the right top corner. When the wall was assembled, it was assembled from the left bottom corner to the right top corner. The metal shingles are also the same as the house, however the roof design is different. Lustron garages were a secondary thought to this company, and most of the time were just assembled by some contractor the way they would build any other structure. For that reason, you will find must more variation between garages than houses. With that out of the way, you can look through how we added our door. We bought a previously owned steel door for $15 that came with hinges, but was not hung. We would have liked a door that was already hung, however we didn’t want to spend a fortune on a door either, so we went with what we could find, I painted it, and we attached to a door frame that we made ourselves.


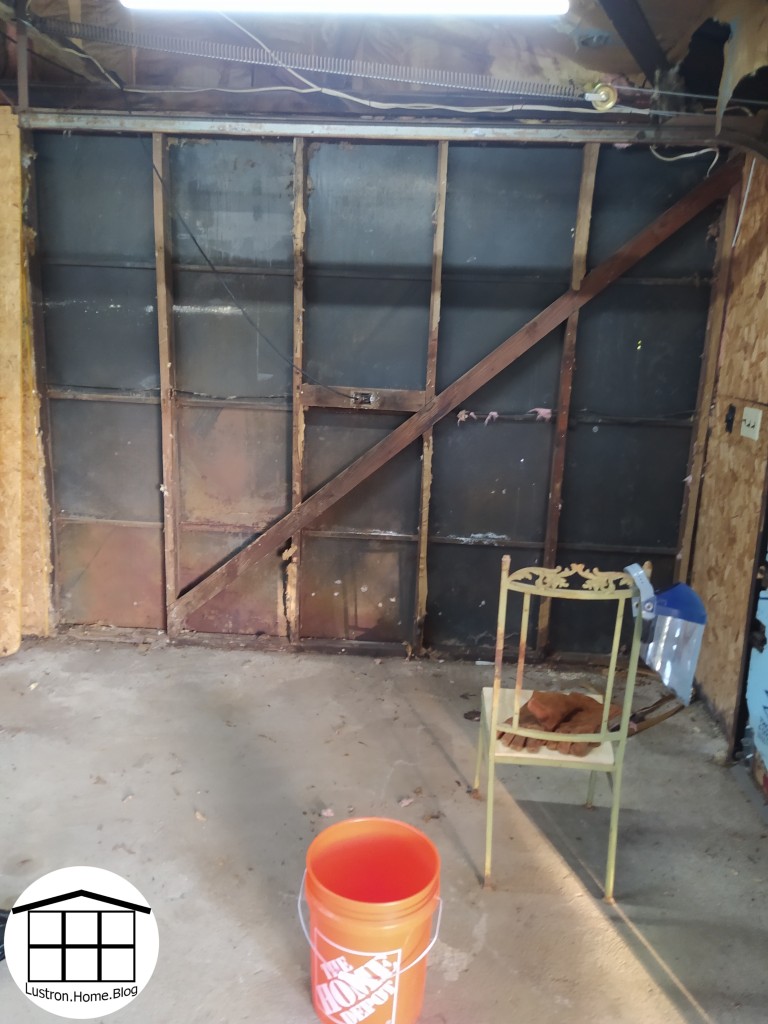

The first thing we did was figure out where-ish we wanted our opening. We had originally planned to more the door so there were two existing panels between the door and the corner. We knew we’d have to move our electrical if we did that, but there would be enough room for the upright freezer and some storage shelves. When we pulled down the wall and could see the footer, there was already an original foundation anchor in it, and though we may have been able to remove it, we didn’t want to mess with the original structural integrity. Before you pull down your wall, you will need to find your studs, but once you do, you can tear out anything in the wall, in our case it was insulation, and clean your work space.


We decided to move the door a segment to the left, and Josh began cutting. As I mentioned earlier, since the panels were assembled a special way, we had to disassemble a special way. Using a sawzall, Josh was able to fit the blade between the panels and studs to cut the bolts. Once all a panel’s bolts were cut, it could just slide right out. We did end up damaging a few panels this way, but many of these panels were severely rusted and some even rusted through. Once that was done, we cut out the existing stud and cross support, and cut the existing footer in the door way to make room for a new threshold.


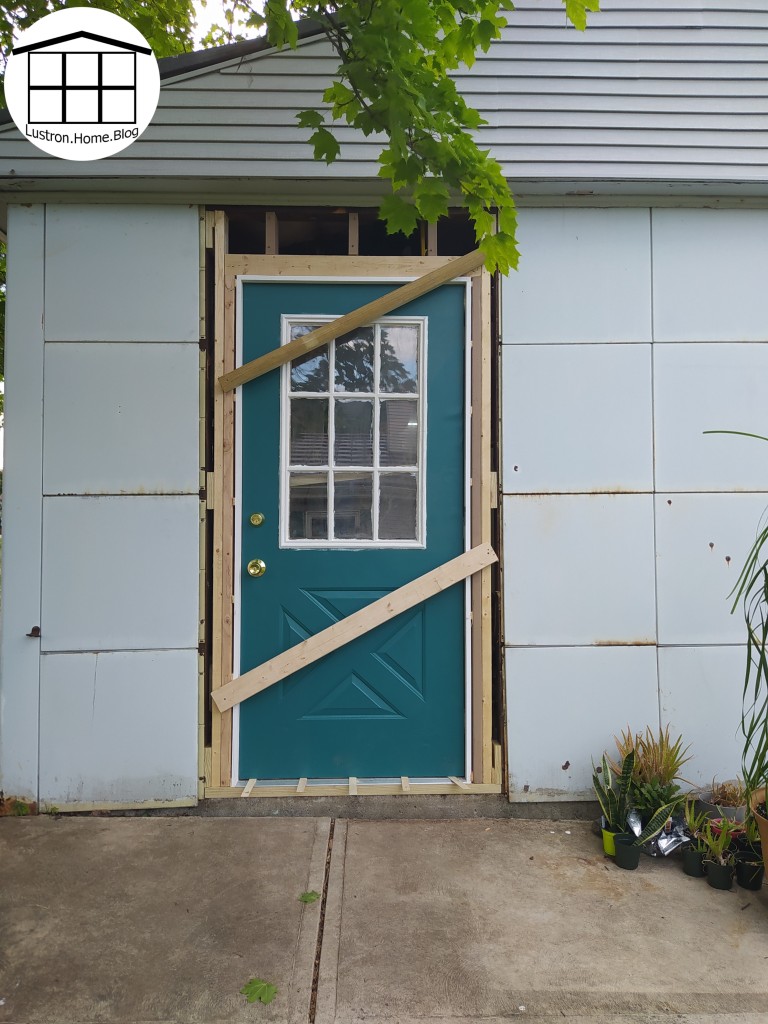
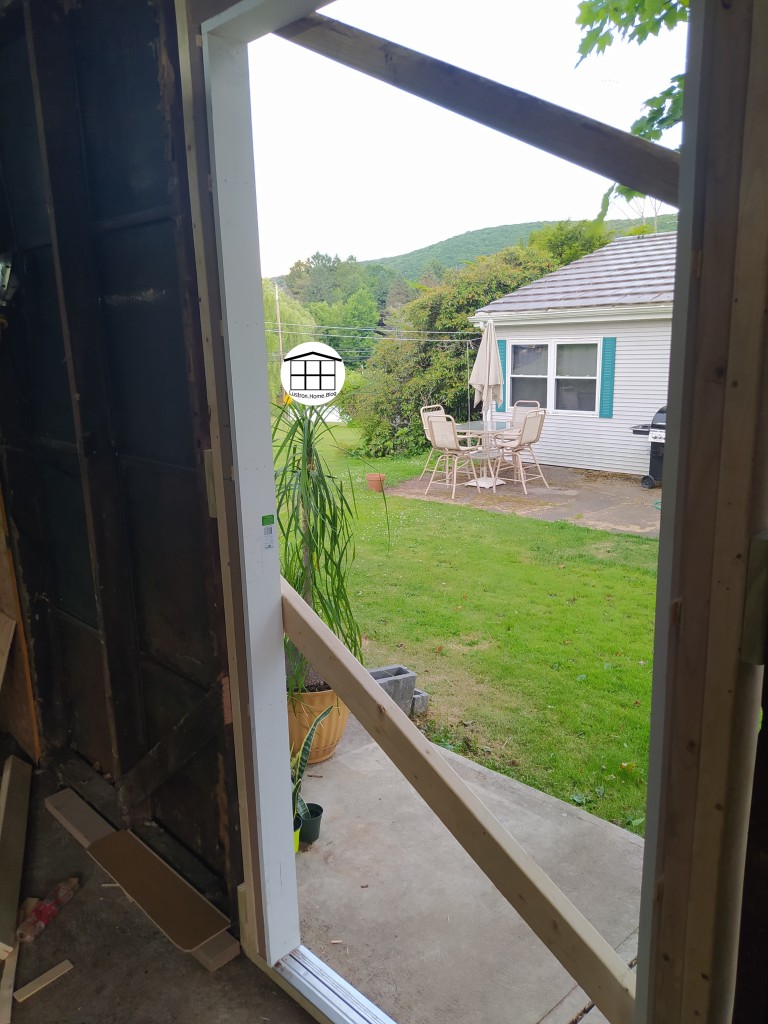


Once the opening was done, it was all framing and adding the door. First, we added our threshold, and added on anchor into the cement. Then we rough framed the door. We gave ourselves an extra 3 inches for the door and roughed in the opening. We made spacer blocks then added our 2x4s up to the header. There we added shorter 2x4s that were slightly higher than the door, and nailed them to the existing 2x4s. This whole time before we nailed anything, we were adjusting the boards to be as close to level and as close to square as we could get. We added a top plate to the shorted boards and attached it. We added some smaller pieces to attach that to the actual header, then we called it a day because our we found out our well switch had broken (thankfully we keep a spare). We added plywood for the night and got back to it a few days later. We then cut the door frame, cutting the sides before the top, shimmed it in place then nailed it. We added our final threshold and then we took a few more days off before returning. When we came back, we hung the door. First, holding the door where it would be if it were open, we marked the hinge locations. We had enough room that we didn’t have to set in the hinges, but you may have to do that if your space is too tight. Josh pre-drilled the holes, and I held the door as he attached each hinge.
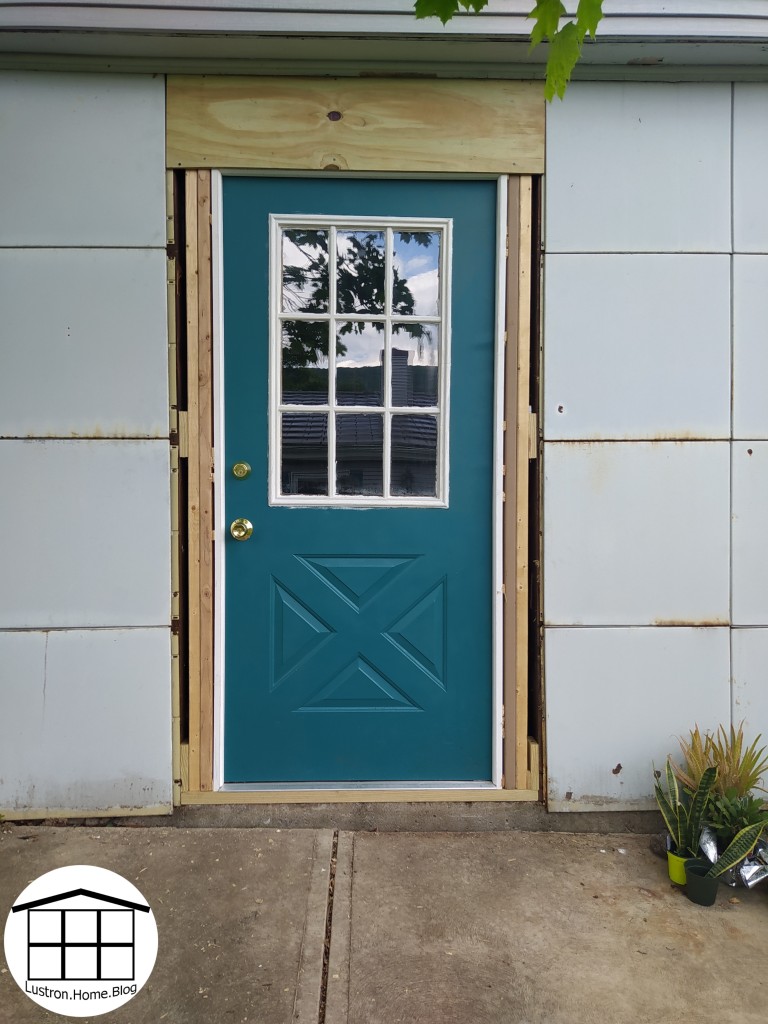


Josh then cut our top trim piece and mounted it, then he cut and mounted each side piece. We added new hardware to the door, and spray foamed around the framing of the door. We left it like that until I was able to paint the trim to finish the project.


