It’s been a while since I’ve updated on how the house is going. So far we haven’t been able to do any more new flooring. The holidays and winter in general has made it hard for us to continue that project. Our next flooring room will be to add the new flooring into the orange room’s closet, then we’ll be doing the hallway and hall closet as our second segment. We are still trying to make decisions on whether we can do the living room and dining room together or whether we have to add a threshold, or if it would be easier to add one. Our living room is about 14 ft by 16 ft, and our dining room is about 9 ft by 7 ft.
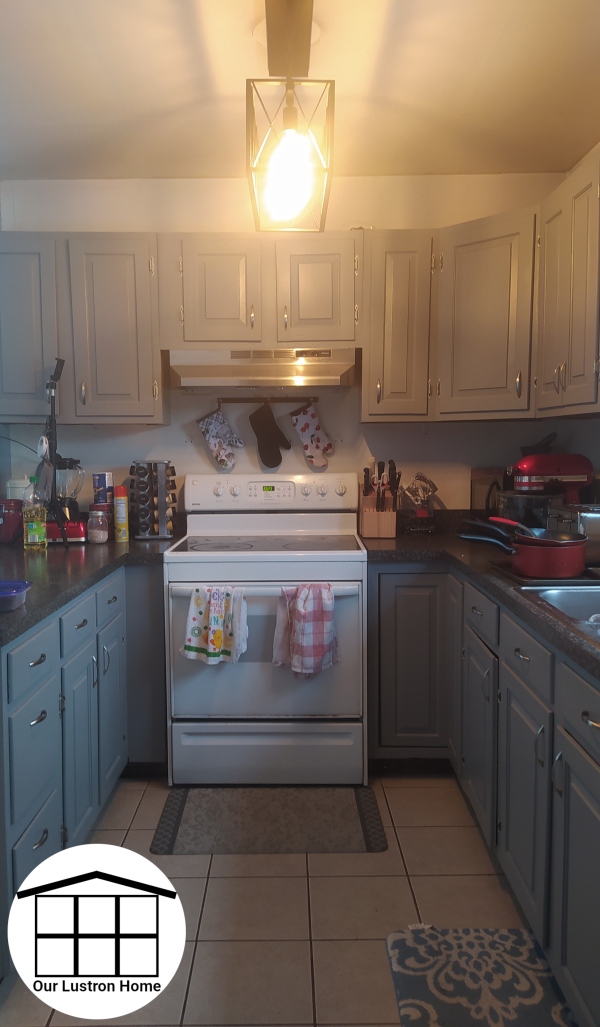
Otherwise, we have been working on projects. We’ve updated our kitchen light, dining room light, and hall light. We’ve also bought a new bathroom faucet and push drain. We were able to get these accomplished in a weekend and it was just a small project to keep us busy at home. We’ve been busy doing some work for family lately. Josh has been building a server for a business, and we’ve had a few smaller projects we’ve been dealing with. Josh also bought a 3D printer, the Ender 3 Pro, so we’ve been fiddling with that most recently.
If you’ve been following for a while, you may remember that at the beginning of quarantine, my husband and I bought flooring. We bought enough flooring for the entire house, and if you want to read more about that, you can find it here.
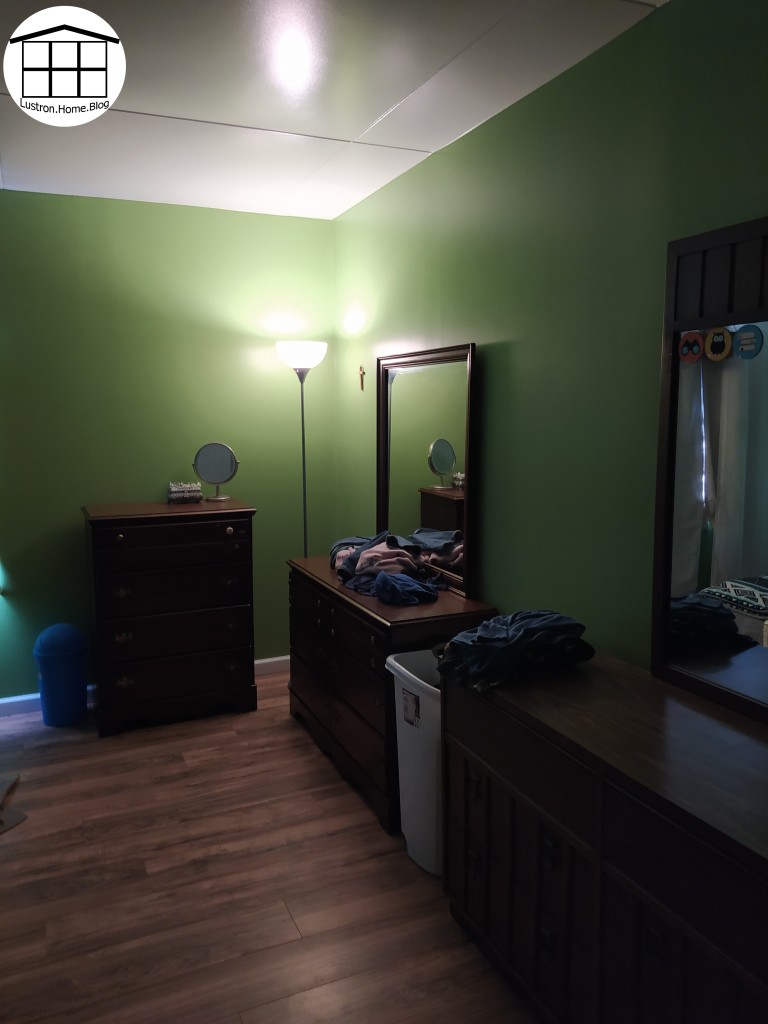
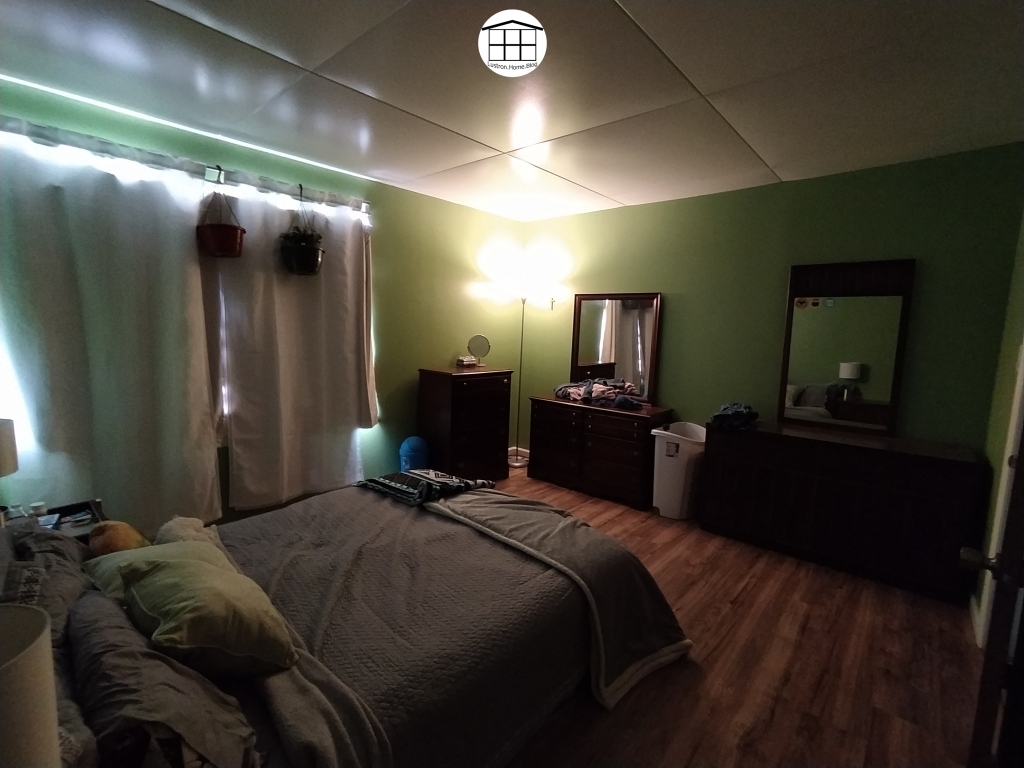
Up until now, I have only posted our guest room being done, however, we had also started our master room, and now it is finished. The process we went through was the same as our guest room, so if you would like to visit that, you can by clicking here.
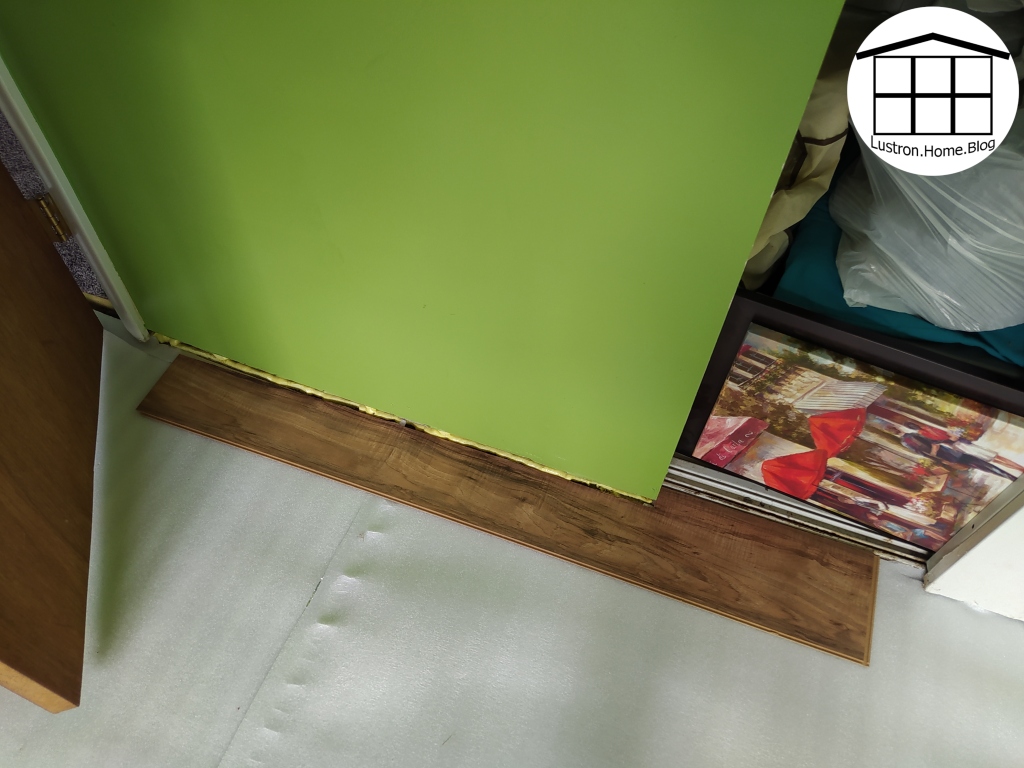
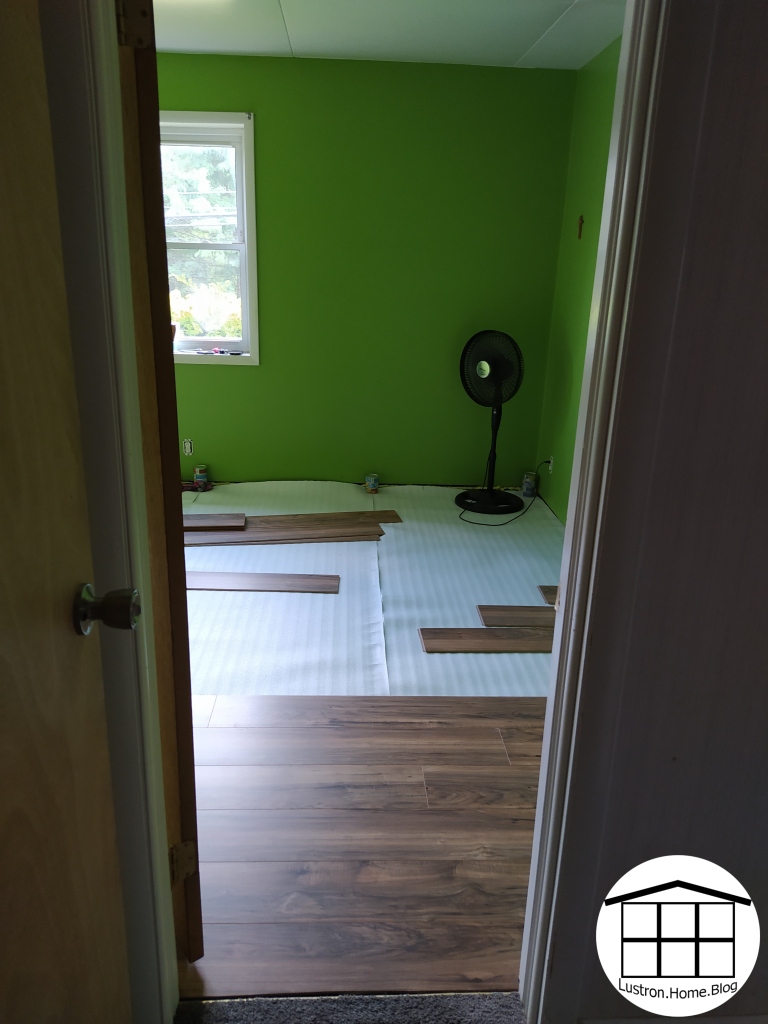
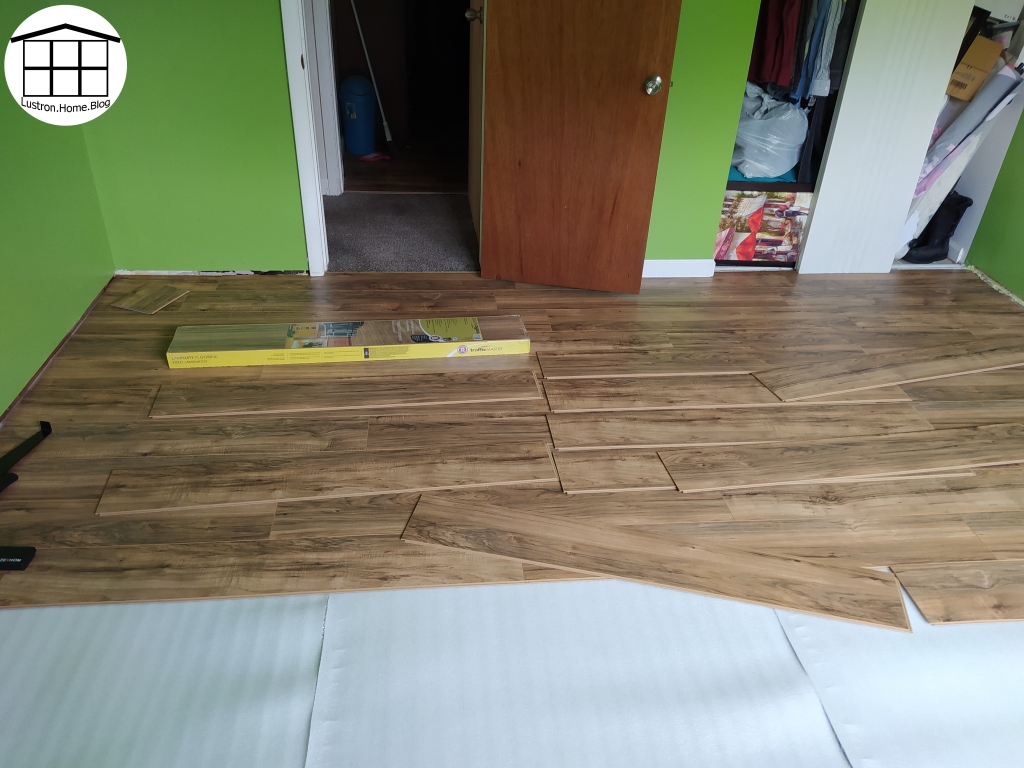
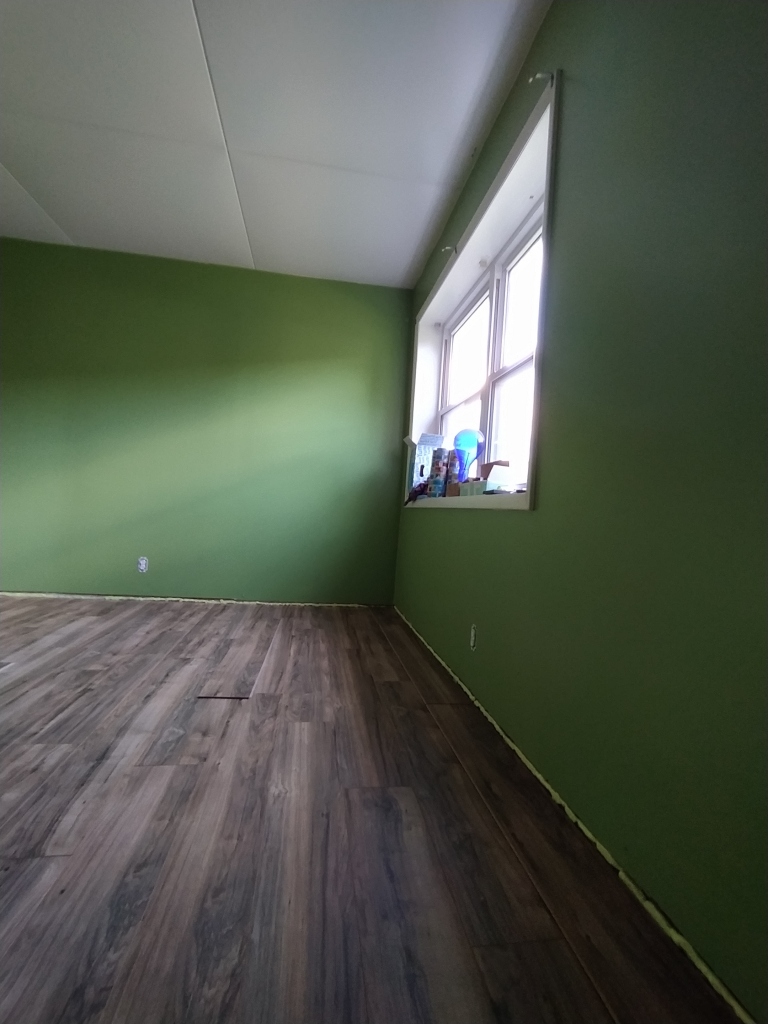
Differences with our master was, I painted the walls before I painted the floor, and the floor was in much worse condition than the guest room. There was quite a bit of mold/mildew on the bottom of the underlayment. The underlayment was also much different from the guest room with a plastic coated foam instead of the exposed porous foam that was in the guest room. Many floor tiles were also loose, but they all sealed back down with the coating of sealant paint. The only other hiccups that occurred doing this room where the fact that the walls were never primed, so in one spot when we were removing the painter’s tape, the old paint pulled off the wall in two small spots, and since the first row of flooring wasn’t perfectly straight and we were tapping boards a lot more than last time, we were having trouble getting the boards to lock together fully about 3/4 of the way through.
Removing Old Carpet
Painting Walls, Chipped Out Cement Edge, and Filling with New Flat Cement
It all started with my Starting Point post. There I wrote my initial thoughts and ideas for this house as recorded last November. We bought this house and found many things wrong with it. We starting putting work into the house starting last October/November, and below is what we were able to accomplish so far.
Current Progress
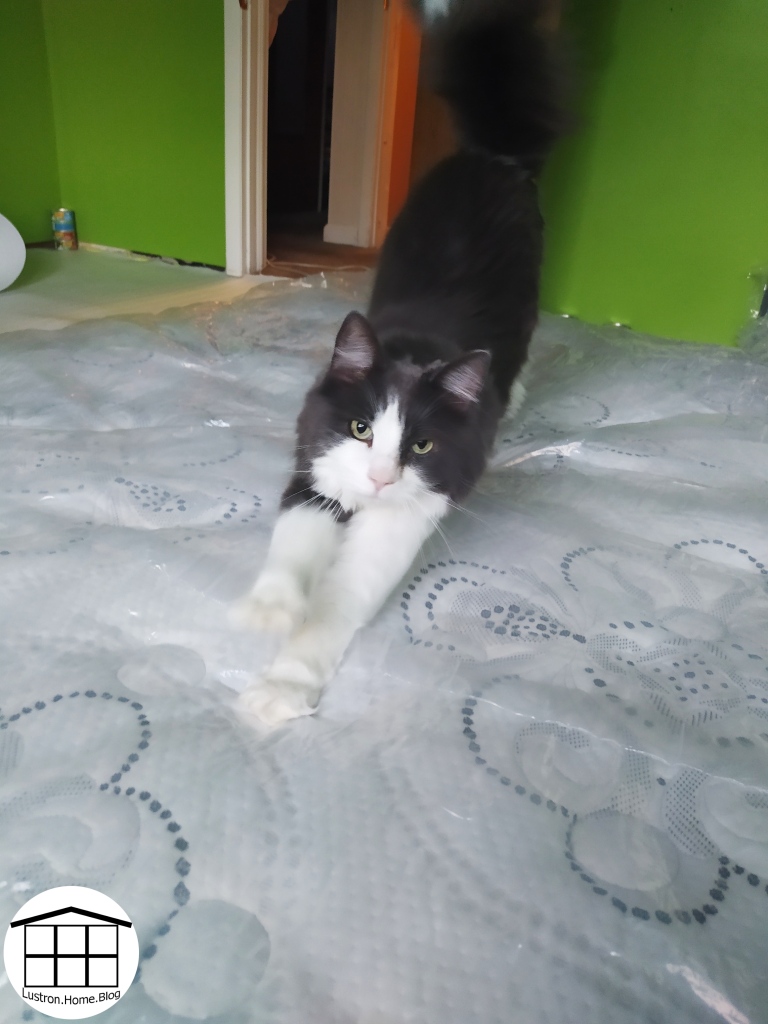
As you can see just between the first set of photos and the second, we’ve made some big changes. We removes trees and bushes, put in raised beds, added an exterior door on the garage, and changed the accent color on the house from red to teal. Inside, we removed a lot of the latex paint off the utility room walls, we built and removed our builtin pantry, and installed a storage shelf instead. We removed the broken dishwasher and sealed the space to be used for my canning stuff. We also upgraded the light in the kitchen, painted cabinets, remove the old range microwave and added a new range-hood, as well as replaced the old leaking kitchen faucet. In the dining room, we refinished the wall after removing about 1/3 of the wallpaper in the house, and we also created a lampshade for our single handing bulb from a lantern we used at our wedding reception. We haven’t done too much to the living room yet; we added a projector screen and are mainly using it for storing some of our extra stuff until we finish the master bedroom. We replaced the light fixture in the hall, and upgraded all the light switches in the house to the rocker style. We repainted the bathroom, removed the medicine cabinet, changed the light fixture, and painted the vanity and changed the hardware. We also added a new shower curtain to match. In the original green room, due to it’s carpet color, we originally replaced the floor in the closet with vinyl planking. After seeing how easy it was, we took on the task of redoing the entire rooms floor, which was not an easy task. we remove the wood from the closet to be replaced with matching floor eventually, I also painted the bedroom the two shades of orange, we moved in, and that is the state of our orange room. Finally, our current project is the master bedroom, or our new green room. We just finished laying the flooring on Saturday. There is still a lot of work we want to do in that room before the new unveiling, but I hope this helps build some excitement for the next unveiling, which will be coming in the next two weeks or so.
A Year’s Worth of Projects
A year is so long, yet so short. We were able to accomplish so much because of the blessing we’ve received this year and from taking things in stride. We are happy for our new experiences and are content with this house even as we continue to find more problems. We aren’t sure if we’ll keep this house forever, but we are happy for all the good things this house is providing for us. This Lustron gives my husband and I something to do together, to bond over, and to dream for. We hope for nothing but the best for this house in the future, and we hope our fingerprint on this house improves the beauty of this old Lustron, rather than hinders it’s potential.
For more on our home improvement posts from this year, feel free to check out any of this posts below. If not, I’ll see you again soon!
Our first room to add new flooring to was a room we call the green room, but really, we were using it as a guest room, storage room, and office. We didn’t have much in the green room, a name it was given due to it’s very green carpet, so we cleared the room of all things on the floor and got to work. The first step was removing baseboards and removing the very long and twisted brad nails they used. Because the house has metal walls under the plaster, the nails would go into the plaster and bend in all sorts of ways when it hit the metal underneath.
Once the baseboards were off we began removing the flooring. We cut the green rug in half and rolled it up in two parts for our garbage men. We then had to pull up the underlayment the was partly glued to the floor, cut it in half and roll it up with the carpet. Josh then went through and pulled out all the furring strips around the edges of the room. We ended up unrolling an underlayment roll, and rerolling it with the furring strips in the middle.
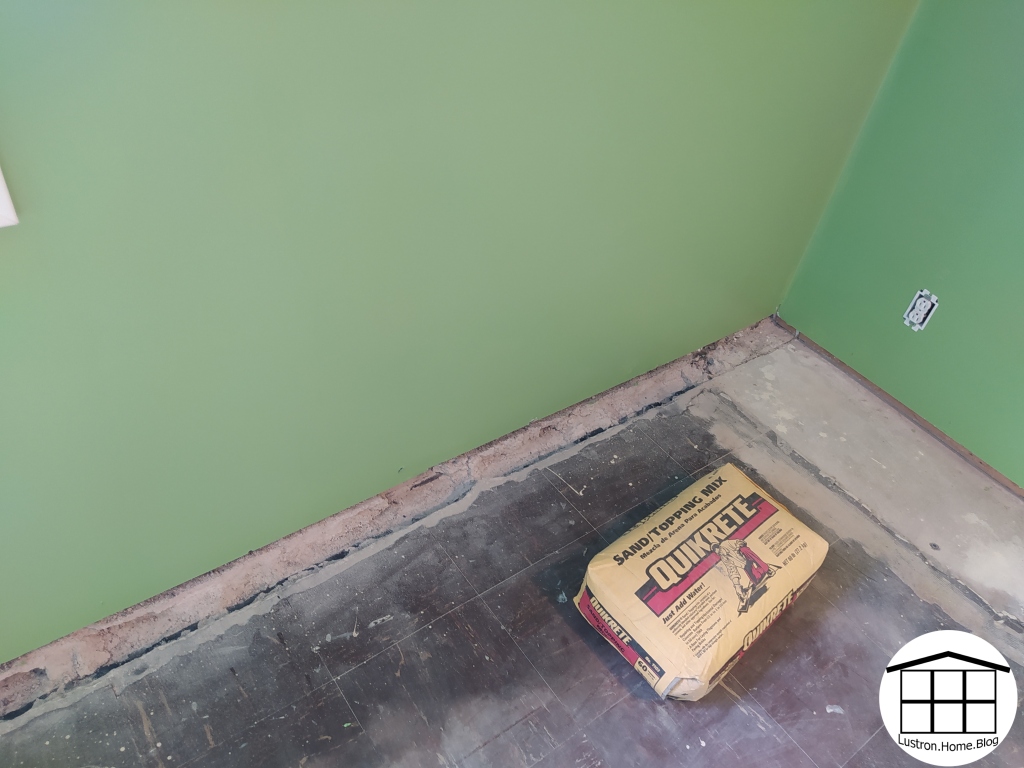
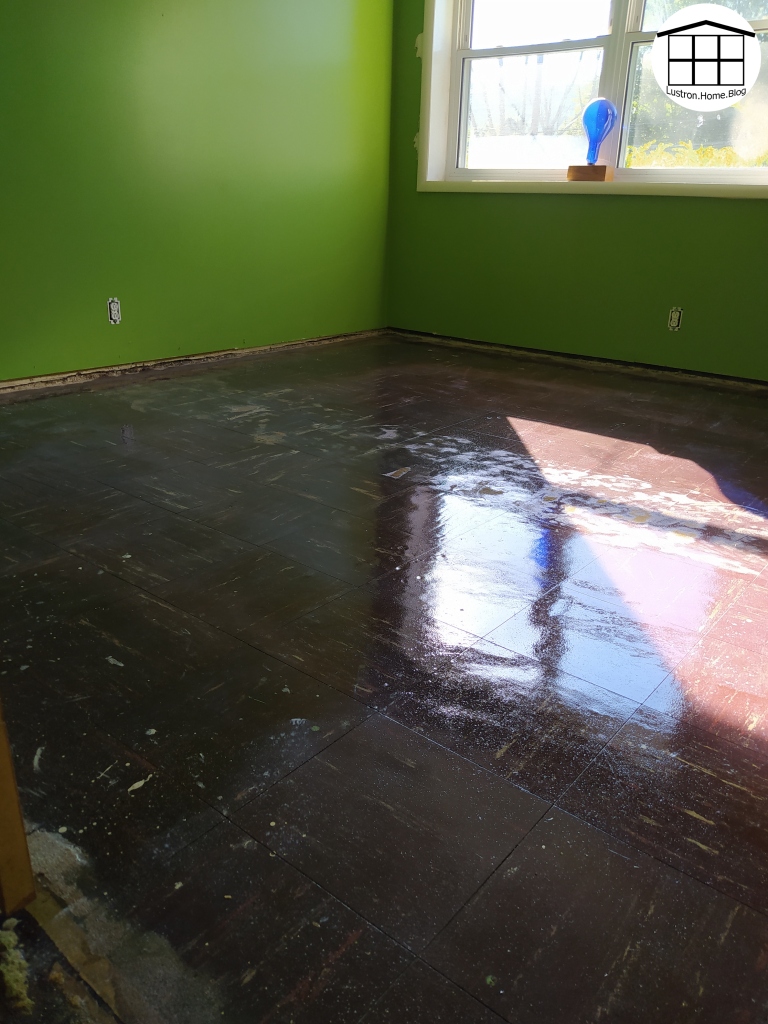
Along the edge of the room, we had a 1 inch lip that came out into the room about 3 inches. To lay a floating floor, the flooring underneath has to be level. So, we chipped out the cement around the room and placed it in a garbage bag. We then mixed Quikrete sand with water and cemented the area we chipped out, making sure it was packed and level. Once it was dry, I washed the floor, twice, and I added 2 coats of Drylok Concrete Protector, a paint that makes the floor waterproof and works as a partial vapor barrier. Once the painting was done, we spray foamed and trimmed it along the edges to make it flush with the wall. We also cut any touching the floor were we were going to add the flooring.
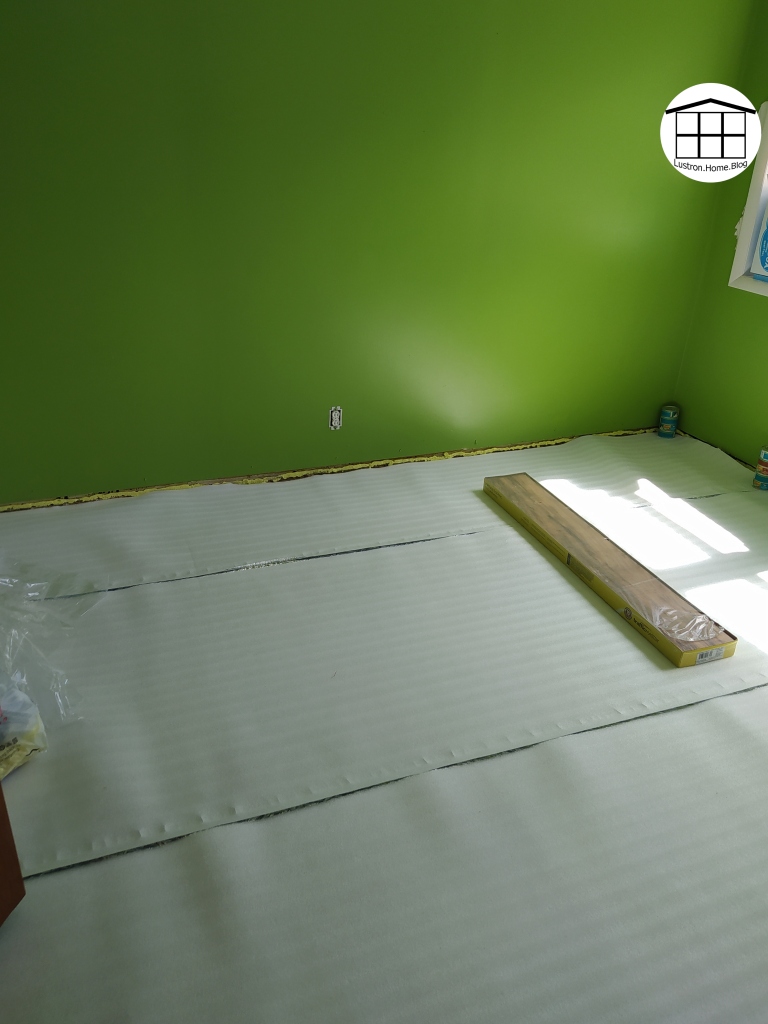
Then, we rolled out the vapor barrier and underlayment combined. We placed it vapor barrier side do. The pieces tape together under the edges, and otherwise the vapor barrier floats like the floor, meaning it doesn’t attach directly to our painted cement.
I then did the math of how to lay out the flooring without extensive repetition and without wasting an extensive amount of material. We decided to do full boards, 3/4 boards, 1/2 boards, and 1/4 boards. We had to trim off an extra 2 inches off each row, but it fit and was able to get finished. We started with the jagged pieces under the door. they needed the most cuts. Once that was done, we put it in place and made sure they were equidistant from the opposite wall, meaning they were parallel to the room. We then used a floor tapping kit to help us assemble the floor. It was not recommended to use this kind of kit with this flooring, but we just made sure to be very careful and not hit it too hard when just trying to tighten up the seams. Finally, we laid our last row under the window. We had to trim off a bit of the board length-wise to get it to sit against the floor.
To remove the furring strips, Josh used a hammer and chisel to get under then pliers to pull it out. To chip out the cement we used a hammer and a metal chisel. To mix the cement we used a mixer attachment for the drill. We used a cement pedal and our hands to place and smooth the cement. I taped a broom handle to a paint roller to pain the flooring, and to do all the board cutting, we used a tables saw with a table sled. Laying the floor only took about 3 hours and we placed 22 rows. The prep work took about 45 hours (most of it waiting for things to dry) spread over about 2 weeks.
Josh and I decided that with our stimulus money, we should do something large that we normally wouldn’t do for ourselves. After a lot of thinking, one big project we wanted to do was replace our carpets. When we first moved in, we were experiencing a lot of mold problems, which we learned was because of poor drainage around our yard. We have since added drain pipes around the problem areas, and as a result the house doesn’t have a musty smell anymore. With those old problems, we decided we need to remove all the old and likely damaged carpets and to just redo the floors ourselves. So, with about 1/2 of our stimulus check, and we got enough materials to replace all of the carpeting in the house with laminate plank flooring.
We bought Lakeshore Pecan from Home Depot, the link is here if you want to check it out (we are not sponsored). This is the second cheapest option they had, but the reviews were far better than the cheapest. Josh and I also liked the color and thought it’d look good in our home. Since we already did a closet with the same design for assembly, we decided to go for it.
Since we redid the closet already, we saw the underlayment was disgusting, and there was no vapor barrier despite the need for one when you have a slab foundation. So, we ordered a combination of vapor barrier and underlayment, and a floor assembling tool kit with all our flooring. (The flooring says not to use one of these tool kits on their flooring, however, Josh and I did, we were just very very careful to not damage the floor in any way.)
We made this purchase and these decisions months ago, and about a month ago, we were able to finish our first room. Keep and eye out as that post will be coming up in the next week or two!