Garden Amending and Planting Garlic

Advertisements

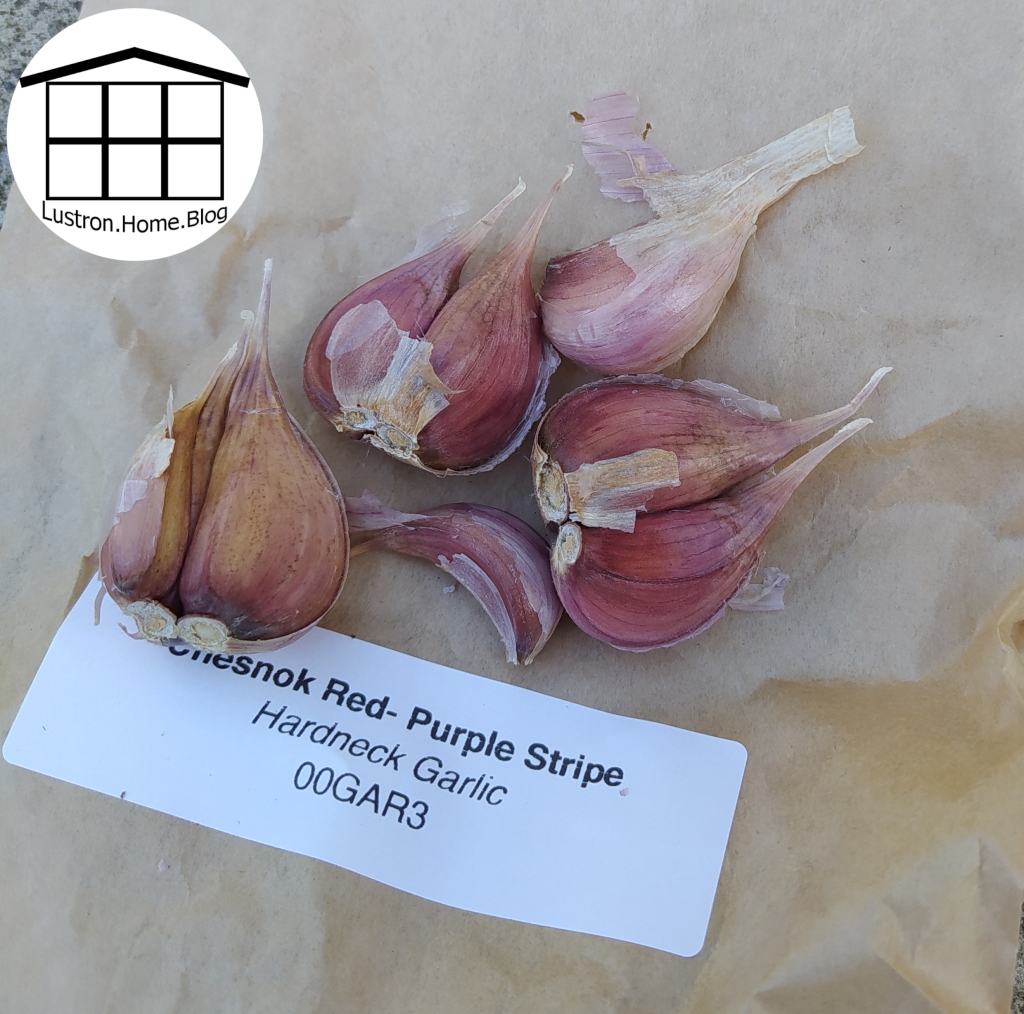
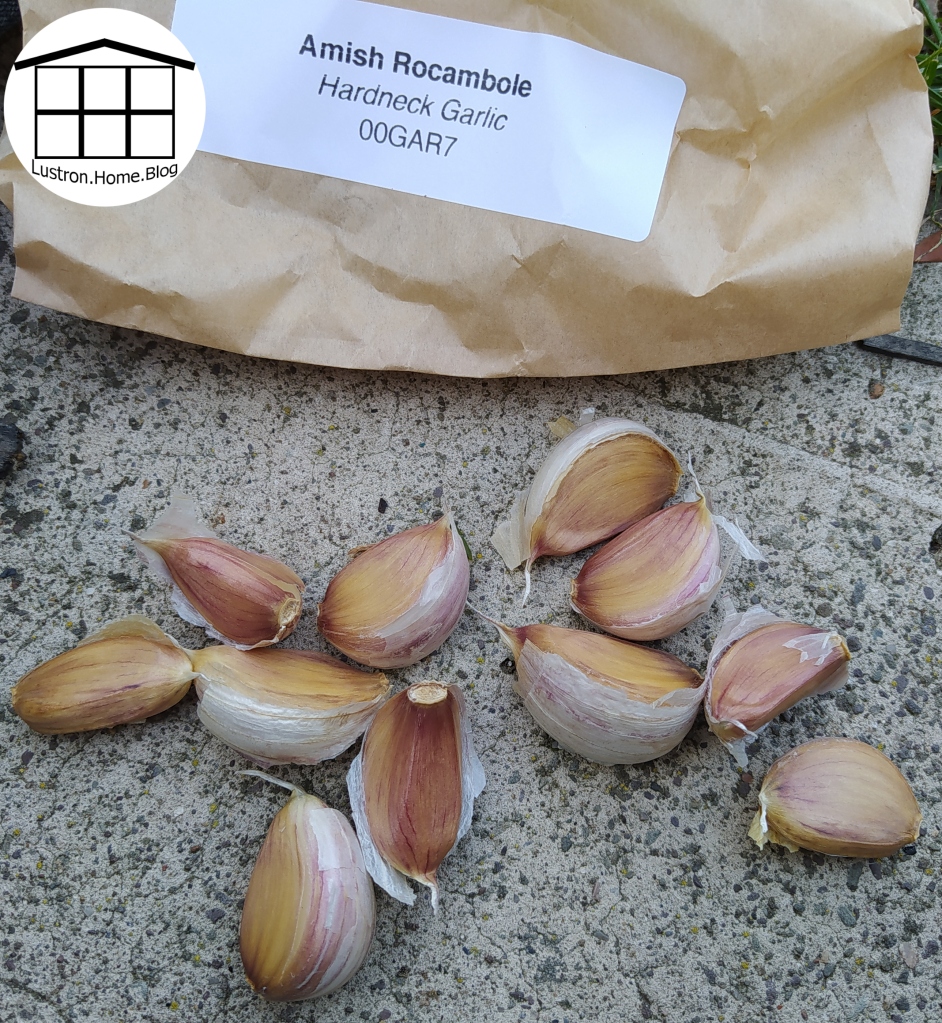
If you follow me on Facebook, you may have seen the post I added yesterday about planting garlic. This is the first year I am seriously trying to grow garlic, and so I’ve done a lot of research and I’m very excited to see what I can get. But, isn’t this garlic gorgeous! I bought these three varieties, all three are organic, disease free, and heirloom varieties. These varieties cam from MIGardener.com. They are not a sponsor, and many varieties are sold out or selling out fast. With that out of the way, before I could plant my garlic, I first had to pull my remaining plants from my raised beds and fabric bags. With this, I was able to save several Parris Island lettuce seeds. I will include those steps at the bottom of this post. I then amended my raised beds, then I planted my garlic.

My first frost day is only 2 weeks away when I planted the garlic yesterday. It is recommended planting garlic at least 3 weeks before first frost, but we just got over a cold snap yesterday where we had 4 nights of frost. The weather is calling for warm temperatures for the next week, so I’m taking a gamble that we won’t be getting another frost for a couple more weeks.

To amend my beds, I first pulled all my plants, but my marigolds. It was just a personal choice to keep them. I think they are beautiful and have a lot of life left in them, so it didn’t feel right pulling them yet, so I just worked around them. To make up for this, I will add some fertilizer in their place next spring to add more nutrients in those spots. Once I pulled the plants, I then pulled down all my netting. This made it easier to move the soil around. Our beds are 8 ft by 4 ft and pressure treated. We added in one fabric bag to one bed and two fabric bags to the other bed. We then split a bag of peat moss between the two beds. We also added 2 bags of aged cow manure into each bed and mixed it all into the top 4 inches of each bed. The reason we added the fabric bags was because the dirt in them had a lot of clay and dried out very quickly. We added 2 bags to one bed because the soil in that second bed was very poor, so we wanted more organic matter in the bed, so we added more dirt. You could also add potting soil if you needed to fill your beds more, but potting soil is expensive, so if top soil were an option, it would be better. I aim for a ratio of 1/3 peat moss, 1/3 compost/manure, and 1/3 top soil for a healthy and balanced soil.

  • Plant garlic rows 6 inches apart
  • Plant garlic cloves 6 inches apart in a row
  • Place garlic cloves 2-3 inches under ground
  • Cover garlic with 4-6 inches of hay or mulch before your first frost
  • Plant garlic at least 3 weeks before your first frost to allow time for root development before they go into dormancy
  • Place chicken wire/hardware cloth over your beds to prevent animals from digging
  • Uncover garlic once risk of frost has passed
  • Water garlic often in the fall and spring and fertilize often in the spring and summer; garlic is a heavy feeder
  • Garlic is ready once the outer 1-2 leafs are dead and dry, any more than that and the garlic won’t dry and will just rot instead

Parris Island lettuce makes yellow flowers, that once fertilized become white fluffs with seeds attached. To get the seed, simply remove the heads that have already gone to seed, remove the stem, then remove the fluff from the seed. You only need a few flowers to get lots of seeds.

Advertisements

Saving Seeds

Advertisements

Last spring was the first time putting in a spring garden. Like many others, I went to the store and bought a variety of seeds for plants I wanted in my garden that year. So, below are 5 variety of seeds I’ve saved so far this spring. Four varieties are from plants I had in the garden this year, and the other was from a veggie I got at a local farmer’s market. I hear starting from seed is best for most plants, and if you do have problems with germination, then you could always go out and buy the plant. All seeds can also be stored the same way. If you plan to use them within the next year or two, seeds should be stored somewhere cool and dark. If you want to preserve seeds for 5-10 years, you will want to vacuum seal your seeds or place them in a labeled jar with an oxygen absorber, and store in your fridge or freezer.

Green Beans

I bought these green bean seeds this spring. I’ve stored them in a cool and dark place the keep their viability high for next year. I also got several more seeds from my plants this year. If the pod becomes overly ripe and the seeds are viable, the pod will turn yellow on the vine. The seeds have begun going into development when the pods begin to turn waxy and the skin becomes rubbery. I cut my green beans up as soon as I pick them, and suspicious pods, I will cut around the bean to see if the shell has the rubbery texture. Green bean seeds should be sown directly into the ground.

Onion Seeds

My onions this year were started from sets. They did OK, but they didn’t do great. My soil was part of the problem, and I will be addressing that. I also had 3 bulbs go to seed. When Onions go to seed, they develop a big flower stem out the top, and from there they develop a flower that looks like a yarrow or queen Anne’s lace. Once the flower has been pollinated and begins to close up/turn brown in an area, you can cut off the head and place it in a paper bag for a week or two to finish drying. Once dry, you can shake the flower the drop all the tiny little seeds. The flower can be disposed of, and the seeds stored as desired. Onion seeds should be started inside before being transplanted outside.

Radish Seeds

Radishes are a fast growing crop that are supposed to be the best for first time growers. This variety is cherry belle radishes. The seeds are sown directly into the ground. They are ready to harvest 22 days after they sprout and they only like cool weather. If you leave them in the ground for longer, they will begin to go to seed. I kept 3 radishes in the ground, and as they matured they grew considerably! They grow a main stock with many branches of flowers. After about a week or two they begin to form pods. You should let the pods turn red before harvesting the pods, and you should wait for the pods to dry and become brittle before harvesting all the seeds. You can crush the pods and break them open to extract the seeds. The seeds can then be placed in a bowl or bucket. You can then swirl the seeds and blow onto them to remove any chaff that ended up with the seeds. You may lose some seeds too, but they were likely light and inviable.

Green Pepper Seeds

Green peppers are the one plant I didn’t grow in my garden this year. I bought several green peppers from a local grower at a local farmer’s market. These seeds can easily be saved. When you cut a green pepper, cut around top of the pepper. You should make the circle about 1/2 way from the stem and outer edge of the pepper. Cut down enough to sever the ribs, then you can push down on the stem and pull it clean out. You can then remove any remaining seed from inside the pepper and set aside your top to save seeds after you finish cooking. Place your seeds on a paper towel/ paper plate. Place your paper towel/plate on a sunny windowsill. After about 1-2 hours, come through and stir your seeds to dry any seeds that may be underneath. Let dry another 1-2 hours before storing. Green Pepper plants should be started inside 6-8 weeks before your last frost. If available, buy your pepper locally and not from a supermarket, because then you will know the pepper breed will do well in your climate.

Marigold Seeds

When I first planted marigolds this spring, I was shocked with the seed shape! I had never grown anything from seed before, but I assumed all seeds look similar. I was even more shocked to seed how easy it is to harvest more seeds, and how many seeds you get from just one flower! Use a dead or dying flower. Cut the flower from the plant and take it inside. remove the stem by holding the dried petals at the top. Then, grab the black seeds, and pull off the petals. That’s all! Now you have marigold seeds. These are sown directly into the ground in spring and grow all year.

Homemade Tomato Sauce

Advertisements

Red sauce is a staple for many different meals across many different cultures. It is one of the four staple sauces of French cooking, and seeing it’s versatility, it is easy to understand why. This recipe is quite simple. Dice up tomatoes, add some water and spices, boil until tomatoes pure, then blend to make sauce smooth. You can cook out the sauce for a long time by adding extra water and boiling it covered. This will mature the taste of your sauce and get rid of any fresh tomato flavor that may remain in the dish. Some people, like my in-laws, like to add pureed vegetables or beans to the sauce. This usually helps with thickening the sauce and can add extra vegetables to your diet or your picky child’s diet. Finally, some people will also add a splash of alcohol. This helps add a richer flavor, and if you enjoy the taste, it may make your sauce taste more mature for a special occasion or date night.

What You Will Need

  • 3 cups diced tomatoes/halved cherry tomatoes
  • 2 Tbsp Oil
  • 1 Tbsp Italian seasoning
  • 1/2 cup Water
  • (Optional) Diced onion, peppers, kidney beans, etc.
  • Pinch of Salt
  • Sauce pan
  • Blender/Dicer

Directions

  1. Heat pan over medium heat. Add oil and tomatoes and cook until soft. Add remaining ingredients and cook uncovered until the sauce thickens.
  2. Transfer to blender and blend till skin is dispersed. Store, or use in recipe as desired.

Homemade Pasta – Fettuccine

Advertisements

Homemade pasta takes some time, but it’s so much better than store bought or boxed pasta! Homemade pasta has texture and substance. This is the same pasta recipe I used for ravioli, however instead of making squares, we made strings. I also saw afterwards that it’s easier to cut the pasta by rolling it first before cutting, so make note. Making nests is also important, though I didn’t do that. When I cooked my pasta, it held the shape it was in, so it had lots of awkward bends and twists than would have been present if i just make them into nests. Finally, form into 4 nests, because this recipe makes 4 adult sized servings.

What You Will Need

  • 2 Cups Flour
  • 2 Eggs
  • 2 Tbsp Oil
  • Rolling pin and knife or pasta roller
  • Flour to dust
  • Optional Saran Wrap
  • Optional Freezer Bag

Directions

  1. In the bowl of a stand mixer, or on a clean counter, add flour. Add the eggs and oil, and mix until it becomes a shaggy dough.
  2. On a floured counter, knead the dough until it comes together. It is a drier dough that should not be sticky or wet, you may add a bit of warm water if it won’t come together.
  3. Wrap in saran to roll out later. You can also choose to roll out the dough now. Using a rolling pin, or a pasta roller, make the dough less than 1 cm thick. Use a pasta cutter attachment, or flour both sides thoroughly, loosely roll, then cut the dough into pasta. Shake out pasta then hang on a pasta rack, or form into nests. Cook nest(s) for 30 seconds to 1 minutes, or place nests into freezer bag, seal and freeze.

Meals Without Refrigeration

This weekend, Josh and I were looking at an end of season camping trip. As the weather was getting colder, we decided it was now or never for finally going on a summer trip. We chose not to, but I did lots of research, and below that I will have a list of refrigeration free meals and snacks. This is not only a good resource for future camping trips, but it’s a good idea to have some of these items in storage for the next possible natural disaster.

Meals

  • Cereal with Evaporated/Powdered Milk
  • Oatmeal with Evap./Powdered Milk, with dried fruit
  • English muffins with Butter or Jelly packets
  • Bagels with Butter
  • Muffins, Banana/Pumpkin Bread
  • Canned Meat Sandwiches/Soups (Tuna, Chicken, Ham/Spam, Salmon, Clams, Etc)
  • Boxed Mac & Cheese
  • Canned Pasta (Ravioli, Spaghetti Os, etc)
  • Canned Soup (Condensed Chicken Noodle, Vegetable Beef, Chicken and Rice, Etc)
  • Spaghetti with Red Sauce
  • Cheesy Chicken Casserole, make in a pot over fire, and used canned chicken, exclude cheese if don’t have shelf stable
  • Tuna Salad Cucumber Boats
  • Buffalo Chicken Sandwich
  • Fried Rice with canned veggies/meat
  • Tuna Noodle with Evap./Powdered Milk and Canned peas

Snacks

  • Peanut Butter on bread
  • Crackers, Chips, Nuts, or Cookies
  • Pop Tarts
  • Fresh Fruits/Veggies
  • Apple Sauce
  • Granola Bars
  • Trail Mix
  • Fruit Cups/ Canned Fruit
  • Muffins
  • S’mores

Website Powered by WordPress.com.

Up ↑

Design a site like this with WordPress.com
Get started